Setup HTML
Introduction
Laravel Vite provides a clean, fluent API for defining basic build steps for your Laravel application. Vite supports several common CSS and JavaScript pre-processors.
Prerequisites
Please follow below steps to install and setup all prerequisites:
-
Server
Make sure to have the Xampp/Wampp installed & running in your computer. If you already have installed Xampp/Wampp on your computer, you can skip this step.
-
Composer
Make sure to have the Composer installed & running in your computer.
-
Nodejs
Make sure to have the Node.js installed & running in your computer. If you already have installed Node on your computer, you can skip this step if your existing node version is greater than 20.
-
Git
Make sure to have the Git installed globally & running on your computer. If you already have installed git on your computer, you can skip this step.
Installation
To setup the admin theme, follow below-mentioned steps:
-
Install Prerequisites
Make sure to have all above prerequisites installed & running on your computer.
After you finished with the above steps, you can run the following commands to run the project locally or build for production use:
| Command | Description |
|---|---|
npm install
|
This would install all the required dependencies in
the node_modules folder.
|
composer install
|
command to install all of the framework's dependencies. |
|
Please run the below command to generate the new key.
php artisan key:generate
Please fill your DB credentials in the .env file and make sure you have created database with name "lexa".
DB_CONNECTION=mysql
DB_HOST=127.0.0.1 DB_PORT=3306 DB_DATABASE=webadmin_laravel DB_USERNAME=root DB_PASSWORD= |
|
Please fill your Email credentials in the .env file.
MAIL_MAILER=
MAIL_HOST= MAIL_PORT= MAIL_USERNAME= MAIL_PASSWORD= MAIL_ENCRYPTION= MAIL_FROM_ADDRESS= MAIL_FROM_NAME="${APP_NAME}" If you don't have an credentials for email you can create it from Google Developer Console or you can use Mailtrap or any other, it's mandatory for forget password or other mail functionality. |
|
npm run build
|
To compile all CSS and will copy all images, Js, Libs into the public directory. Run this command to get minify output for the production server. |
npm run build-rtl
|
To Generate RTL From LTR. |
|
Please run the following commands to clear all cache from the project.
php artisan optimize:clear
|
|
php artisan migrate
|
This will migrate the database tables. For more details visit https://laravel.com/docs/11.x/migrations |
php artisan serve
|
The development server is accessible at http://localhost:8000. To run on other port just run command : php artisan serve --port=8001 |
How to change width?
-
In order to change the width of left side navigation
bar,
open a file
resources/scss/_variables.scssand change the value of variable$sidebar-width. The default value is set to240px.
Light Version
Keep your body element with data attribute
data-bs-theme="light" E.g.
<body data-bs-theme="light"> to
have light layout.
Dark Version
Keep your body element with data attribute
data-bs-theme="dark" E.g.
<body data-bs-theme="dark"> to
have dark layout.
RTL Version
To have rtl direction enabled, replace the reference of
app.min.css to
app.min.rtl.css in the resources/views/layouts/head-css.blade.php and in the resources/views/layouts/master.blade.php file update the html tag like <html lang="en" dir="rtl">.
and make sure to
update the resources/js/app.js has initSettings()
function which you need to comment out. Because it will set to default the light version.
How to use pre-built layouts?
Each of the layout options is provided below with steps you would need to perform in:
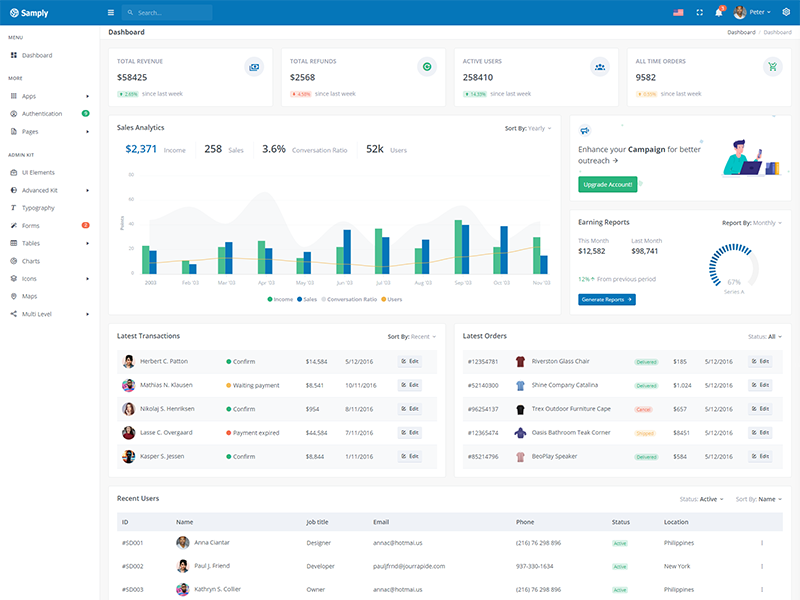
Light Sidebar
Remove data attributedata-sidebar="dark" body element to
have light sidebar.
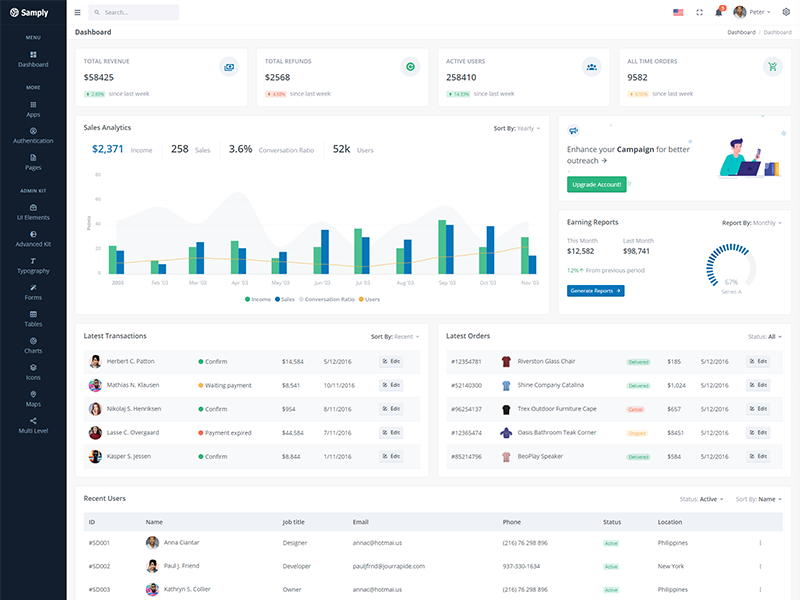
Compact Sidebar
Keep your body element with data attributedata-sidebar-size="md" E.g.
<body data-sidebar-size="md">
to have compact sidebar.
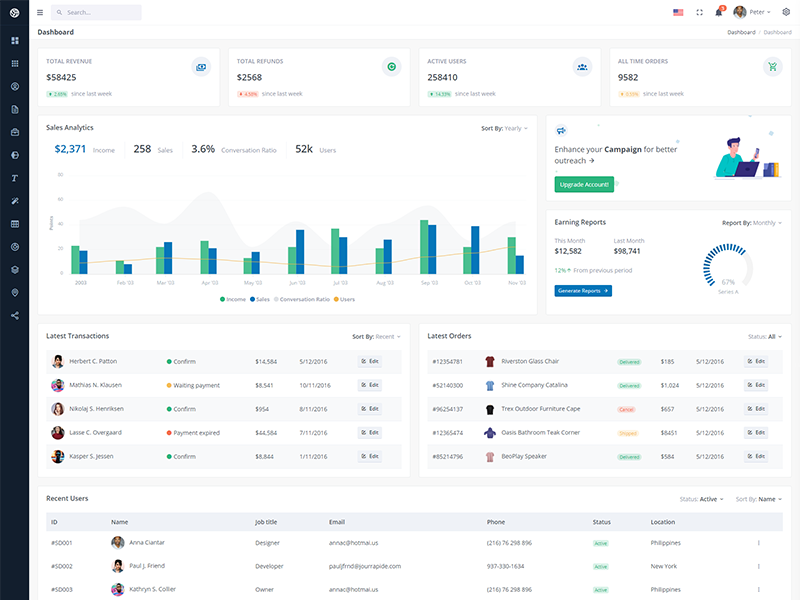
Icon View Sidebar
Keep your body element with data attributedata-sidebar-size="sm" E.g.
<body data-sidebar-size="sm">
to have small sidebar.
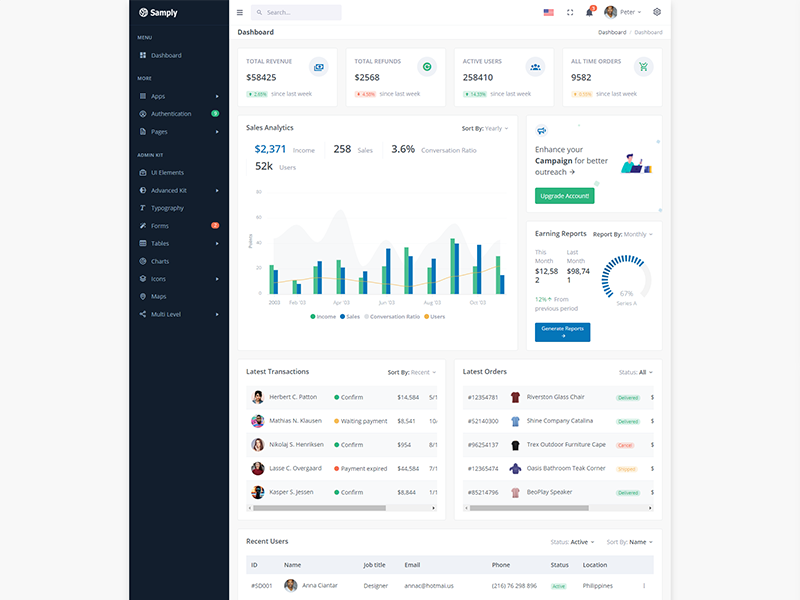
Boxed Layout
Keep your body element with data attributedata-layout-size="boxed" E.g.
<body data-layout-size="boxed">
to have boxed layout.
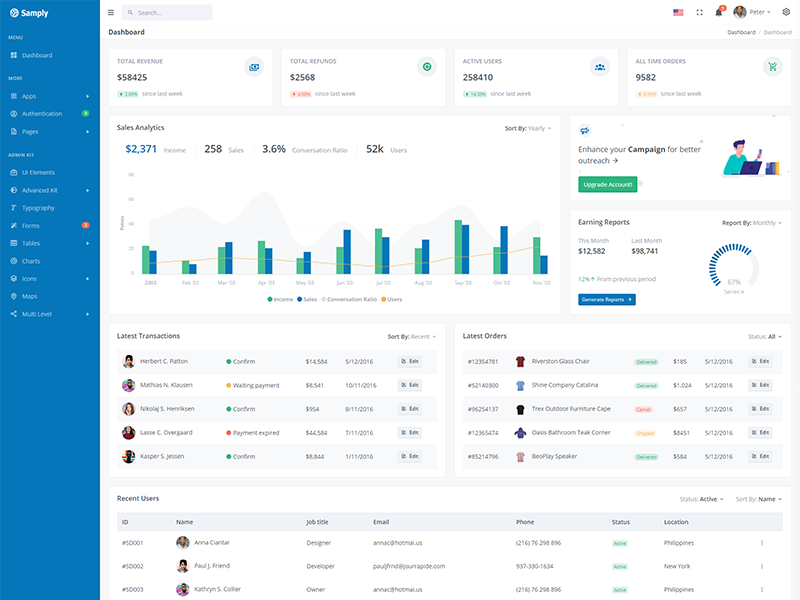
Brand Sidebar
Keep your body element with data attributedata-sidebar="brand" E.g.
<body data-sidebar="brand"> to
have colored sidebar.
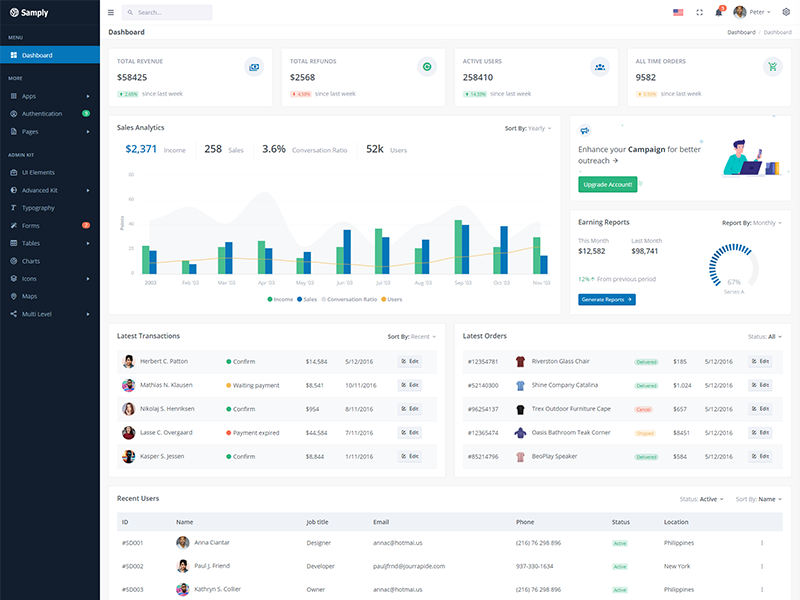
Scrollable Layout
Keep your body element with data attributedata-layout-scrollable="true" E.g.
<body data-layout-scrollable="true"> to
have scrollable layout.
Multi Language Settings
Lets add french language.
- Create new file fr.json in the fr folder in the
resources/langfolder and copy the en.json file code in this file. -
Now you need to add the language in the
resources/js/lang/jquery.multiLanguage.jsfile. In the function setLanguage add the "else if" condition as below and make sure to add french.jpg file.else if(lang=='fr') { document.getElementById("header-lang-img").src = "build/images/flags/french.jpg"; } - You can simply use in the HTML file to convert the language text just add the attribute "key" to the parent div or any HTML tag. Example: <div key="t-title">This is title.</div>
Tips
SCSS: We suggest you to do not change any scss files from the resources/scss/custom folders because to get new updates will might be break your SCSS changes if any you have made. We strongly suggest you to create new custom.scss file and use that instead of overwrite any theme's custom scss files.