Setup HTML
Introduction
We are using gulp which allows having complete automation for build flow. In case if you don't know Gulp then it's easy to use it. Gulp is a toolkit for automating painful or time-consuming tasks in the development workflow, so you can stop messing around while building any project. You can read it more about it here. Please follow below steps to install and setup all prerequisites:
Please follow below steps to install and setup all rerequisites:
-
Nodejs
Make sure to have Node.js installed & running on your computer. If you already have installed Node on your computer, you can skip this step if your existing node version is 18 or later. We suggest you to use LTS version of Node.js.
-
MongoDB Compass
Make sure to have the MongoDB Compass installed & running in your computer. If you already have installed MongoDB Compass on your computer, you can skip this step. MongoDB Compass version must be greater then equal to 1.12.
Prerequisites
-
-MongoDB Compass(option 1)
STEP-1: open compass and connect with localhost

-MongoDB Atlas(option 2)
Make sure to have Account in MongoDB Atlas. If you don't have account then create Atlas account and follow below steps to connect with MongoDb Atlas.
STEP-1: Create account
STEP-2: After verifying email click on build Database
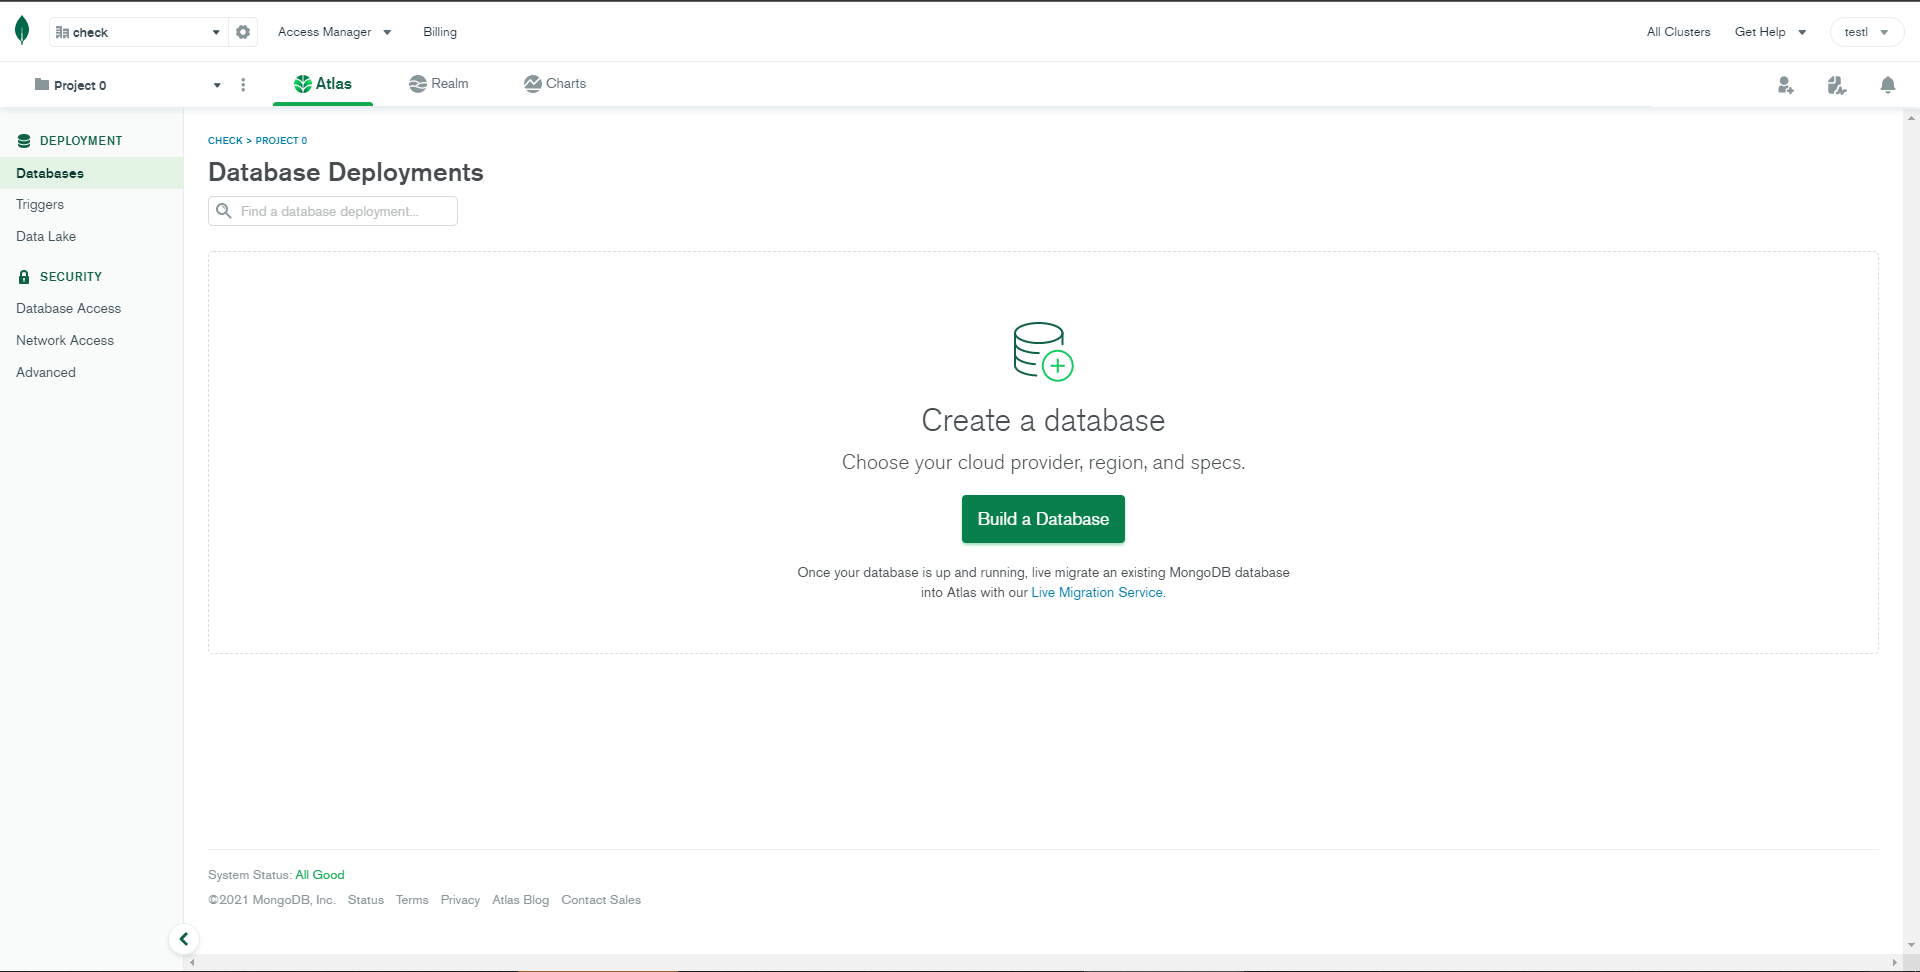
STEP-3: Choose shared database for free...
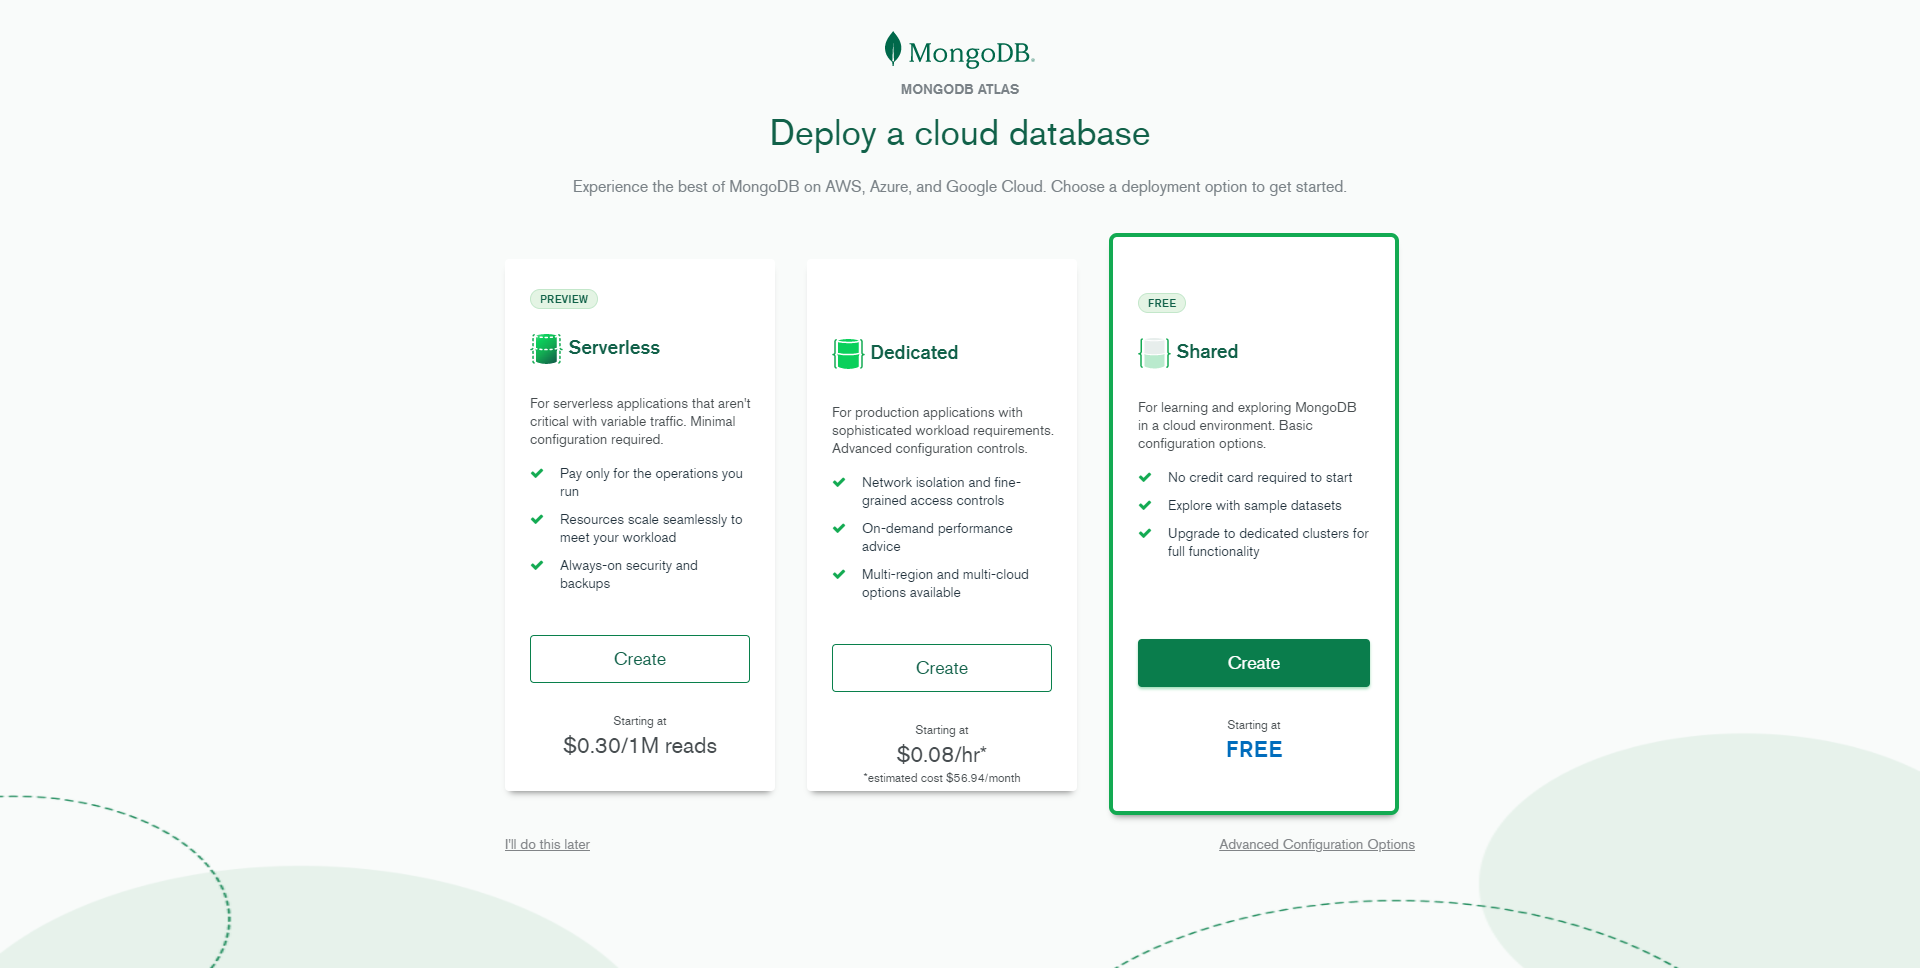
STEP-4: Click on
create clusterand enter Database username and password and click on create.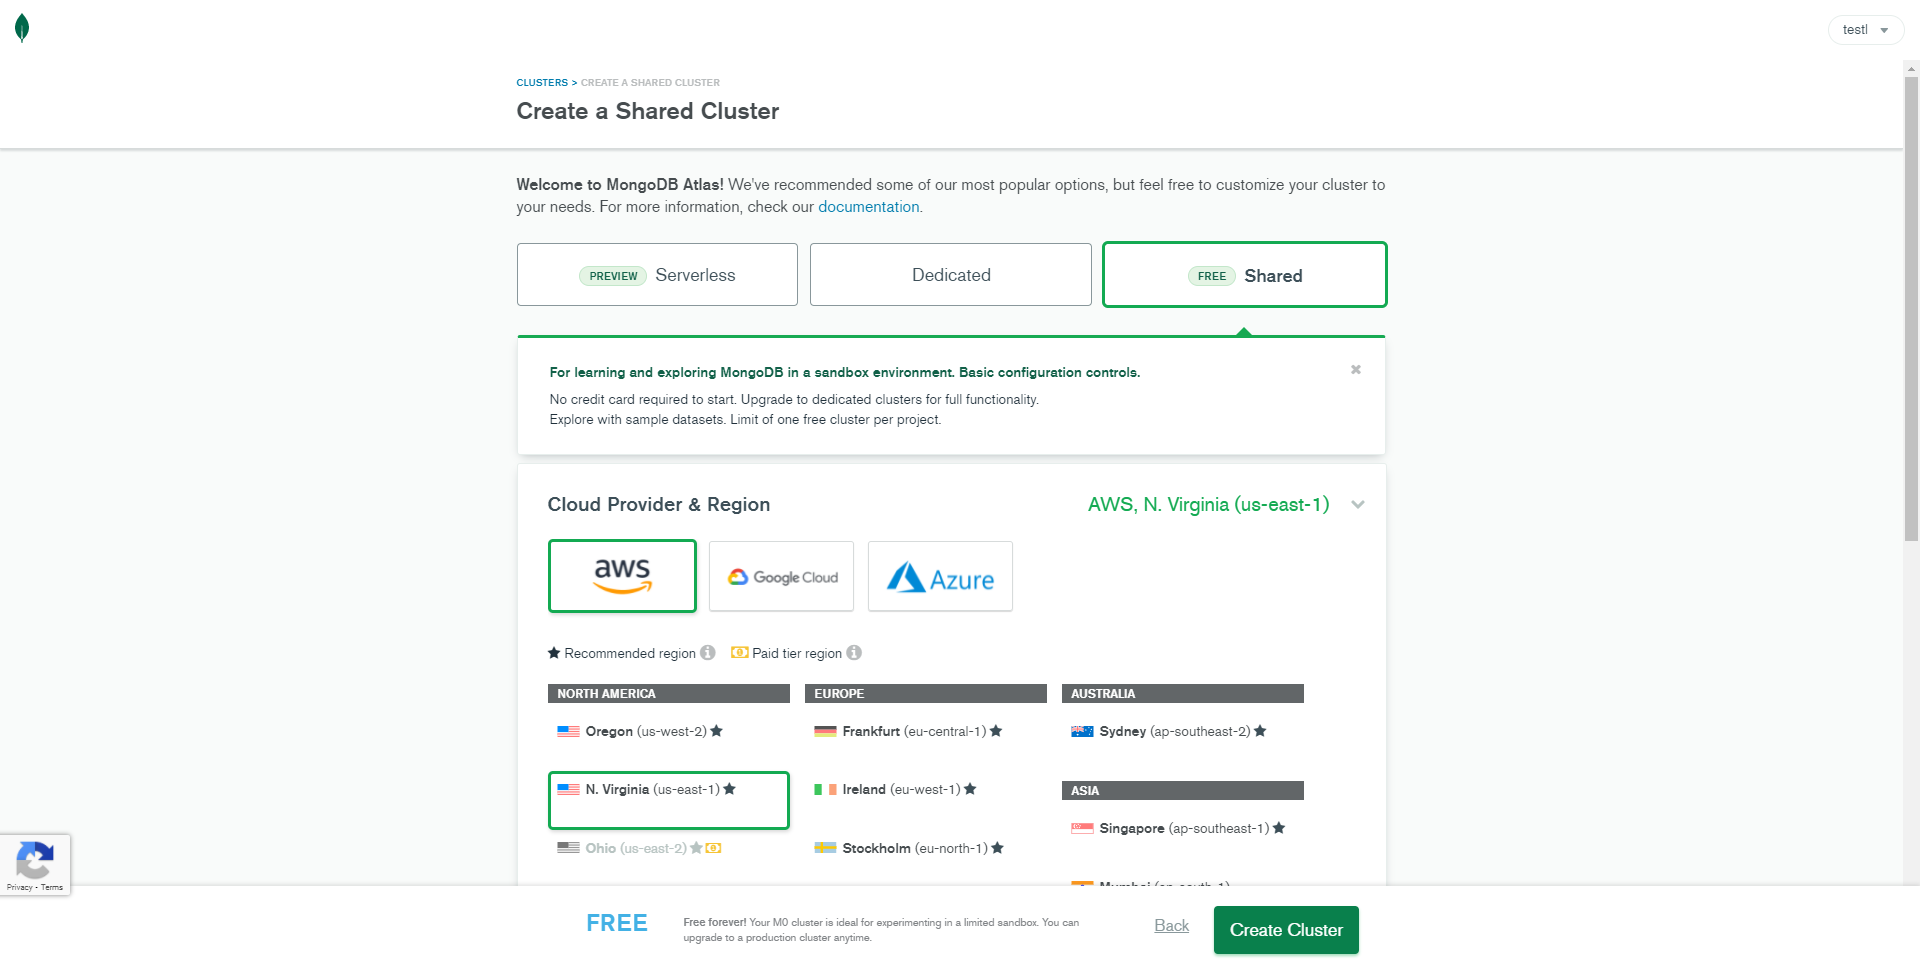
STEP-5: Wait until the process is completed and then click on
connect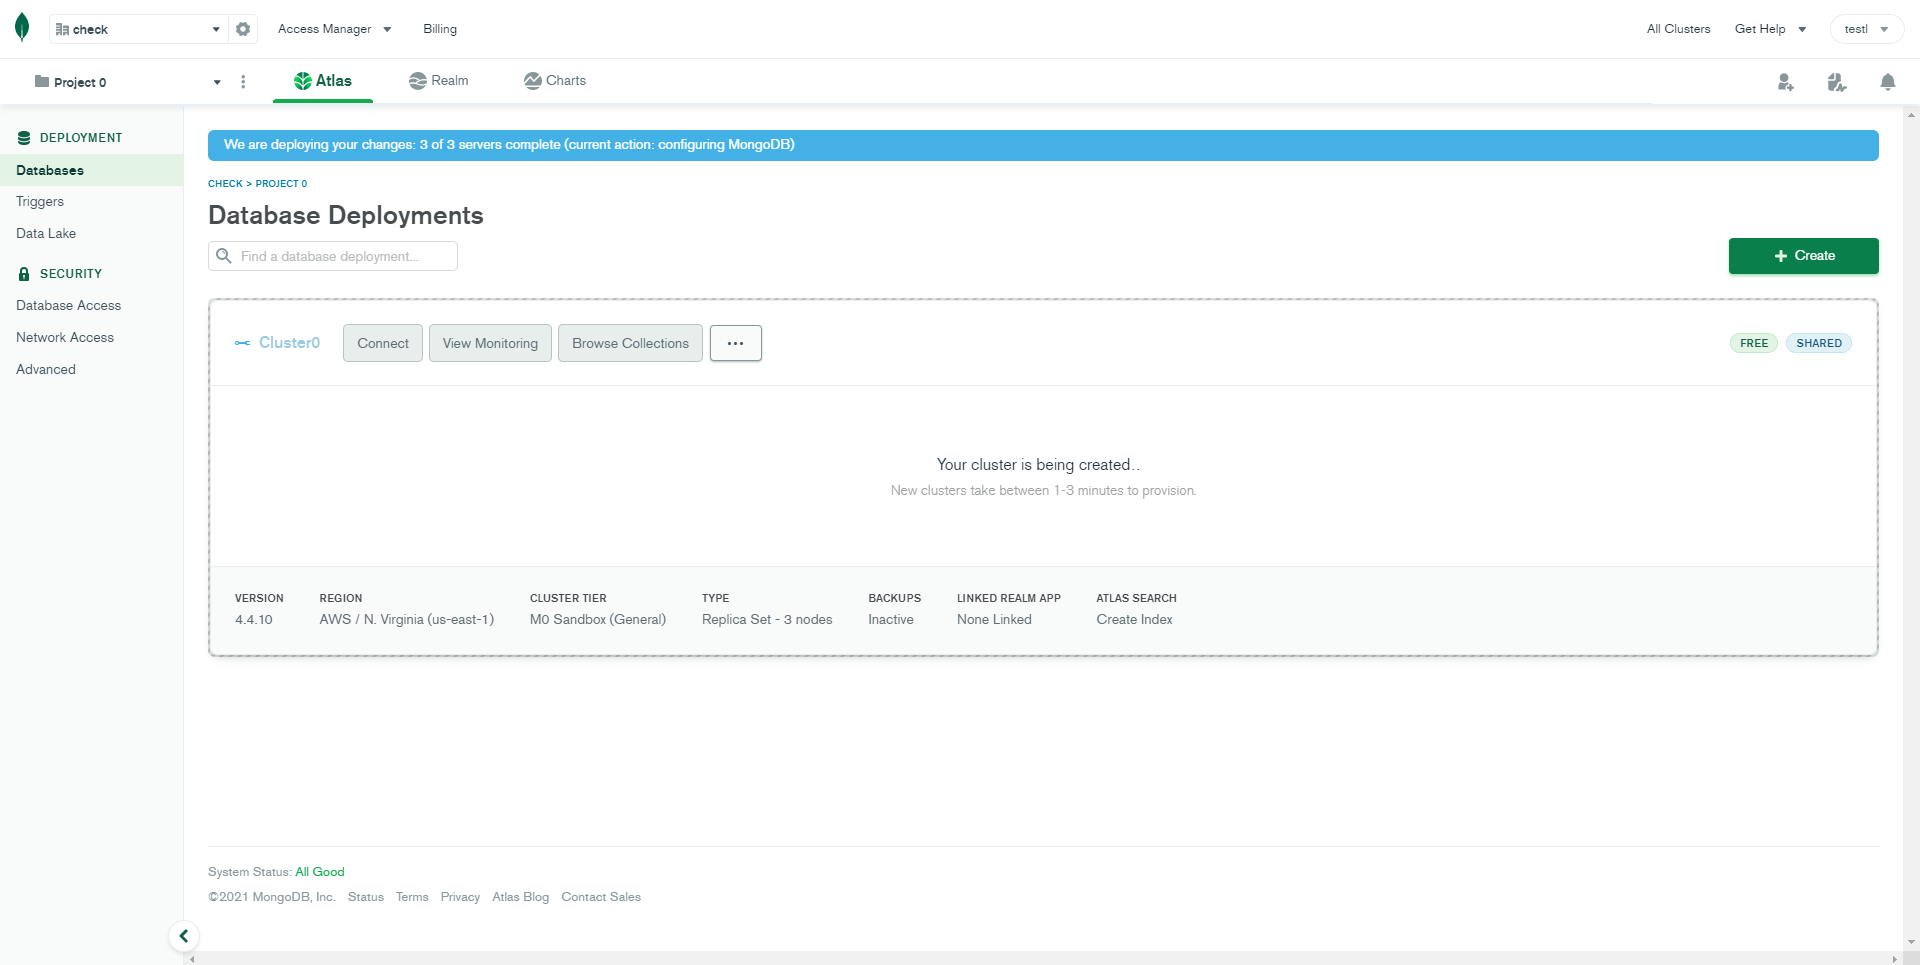
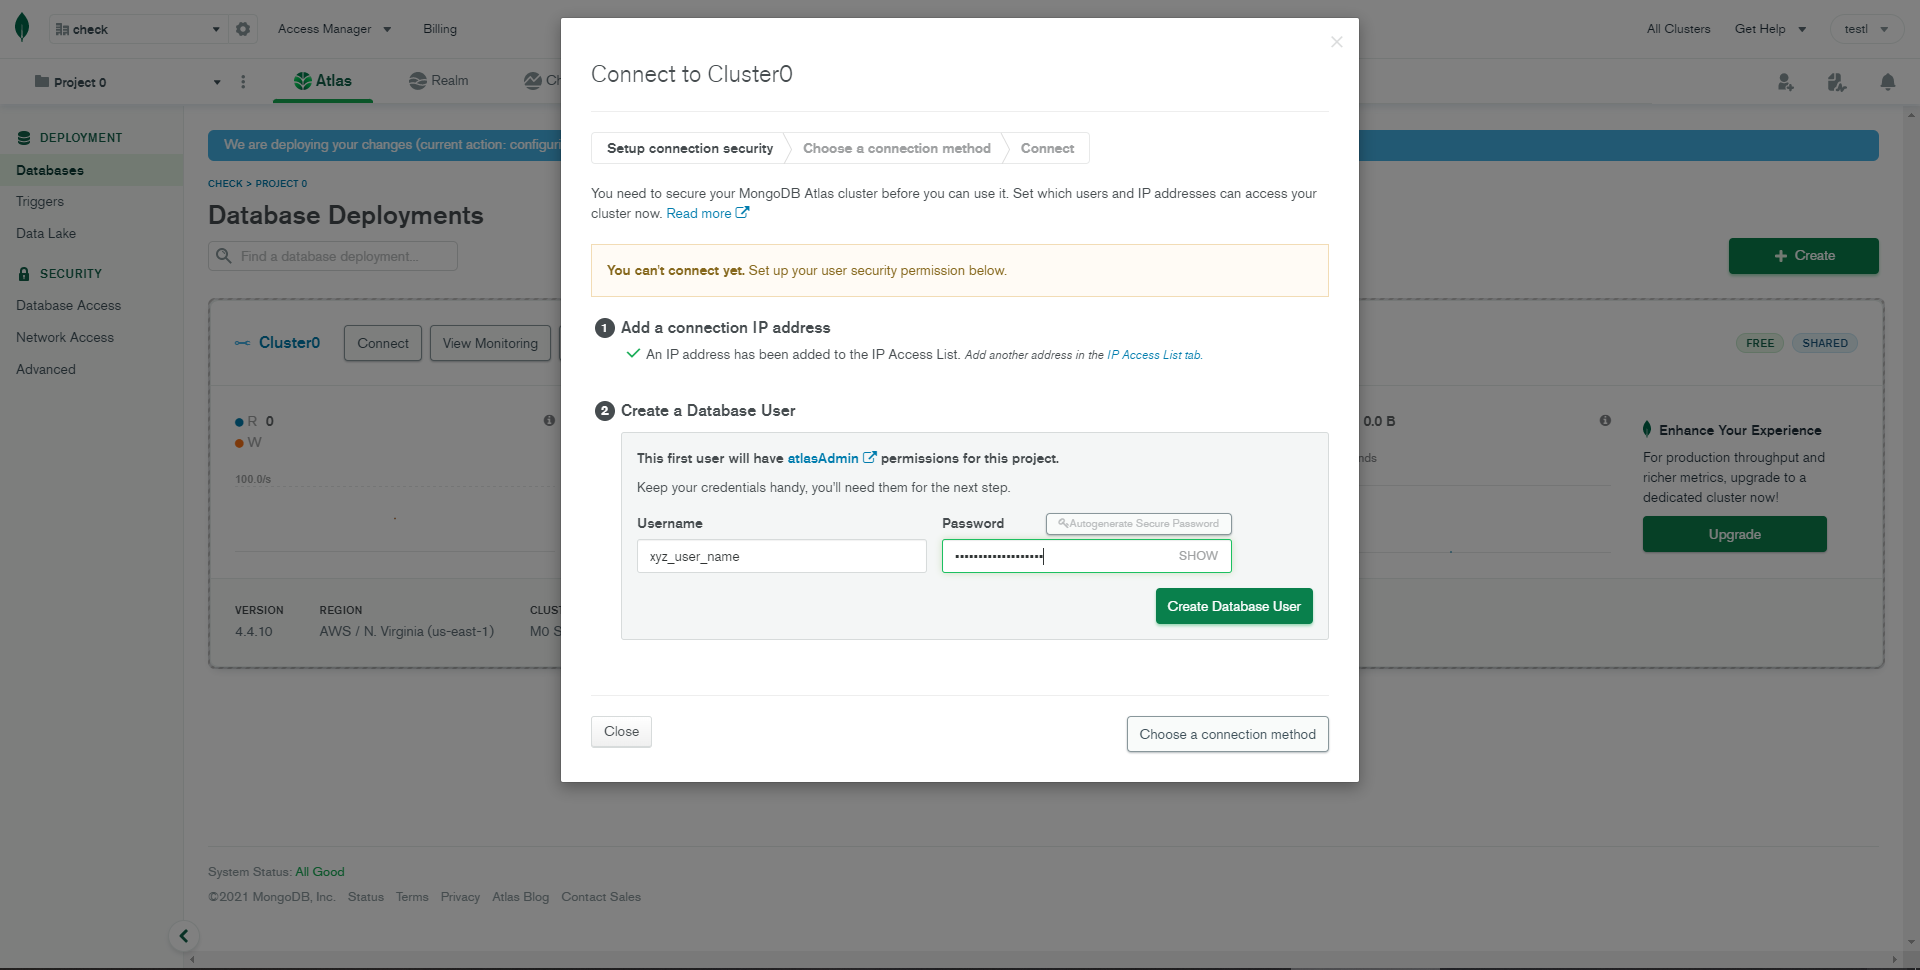
STEP-6: Select your current ip address and click on create database user.
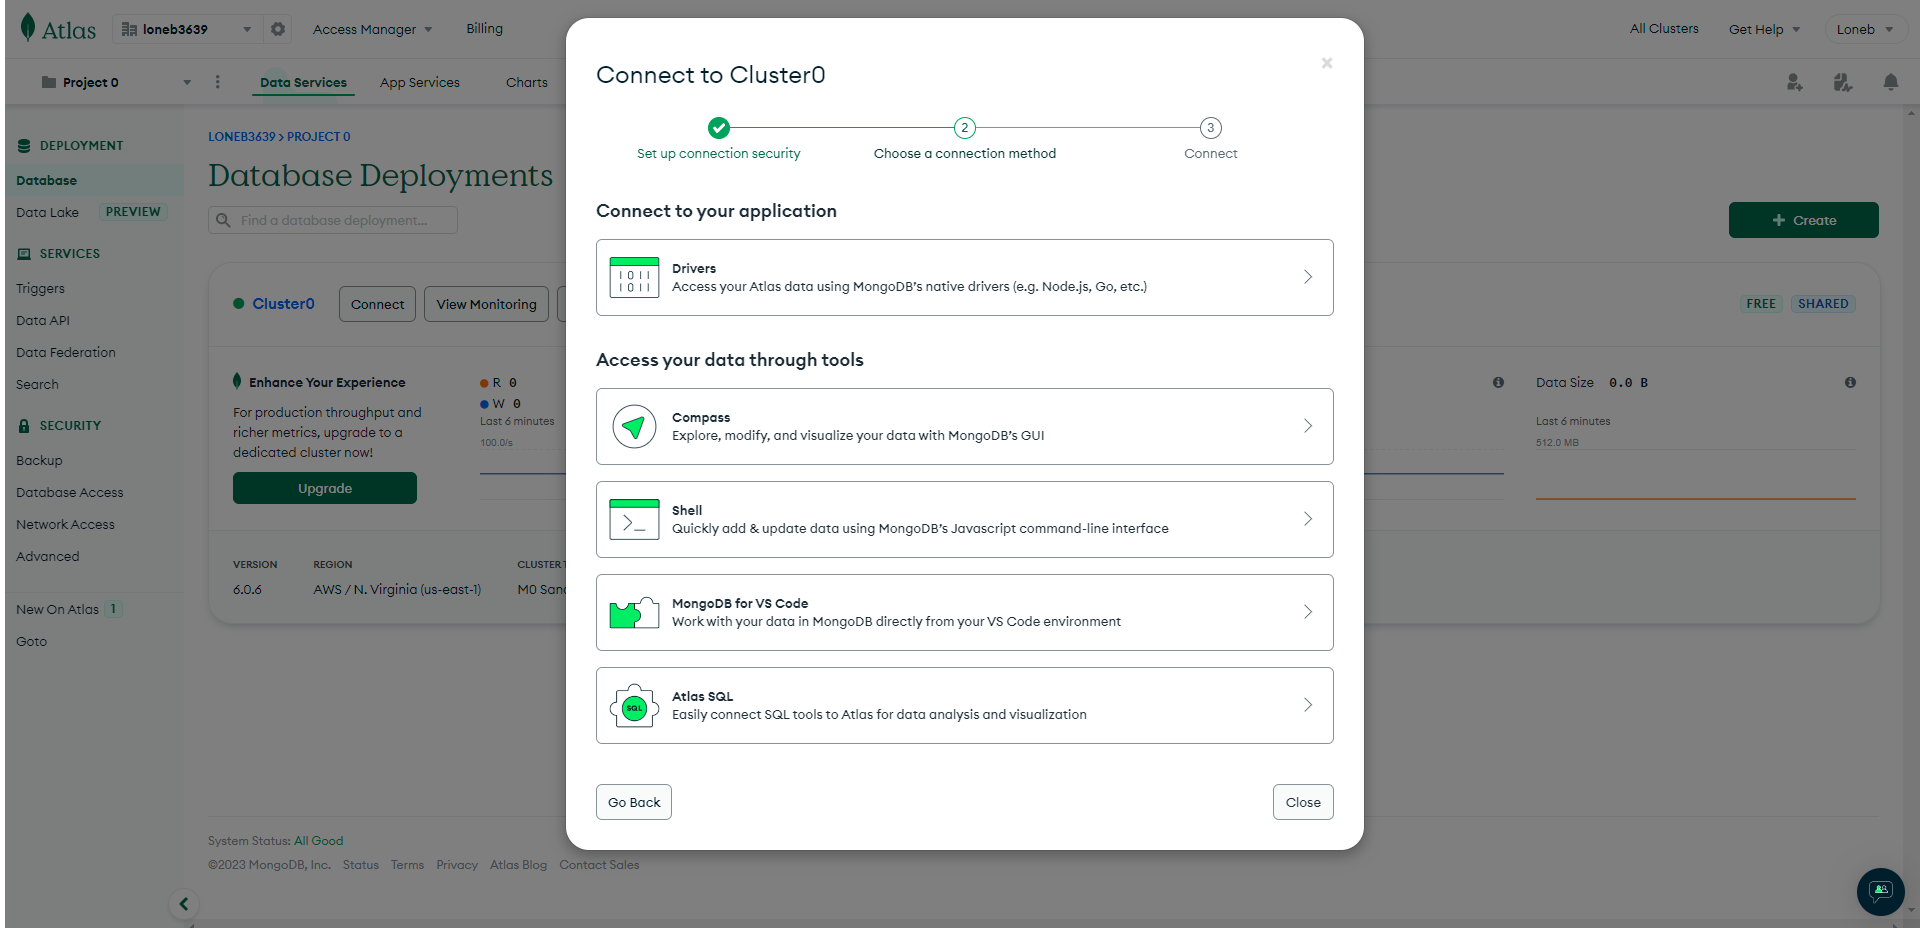
STEP-7: After finish above step then click on Choose connection method.
STEP-8: Now copy the given link and close the model
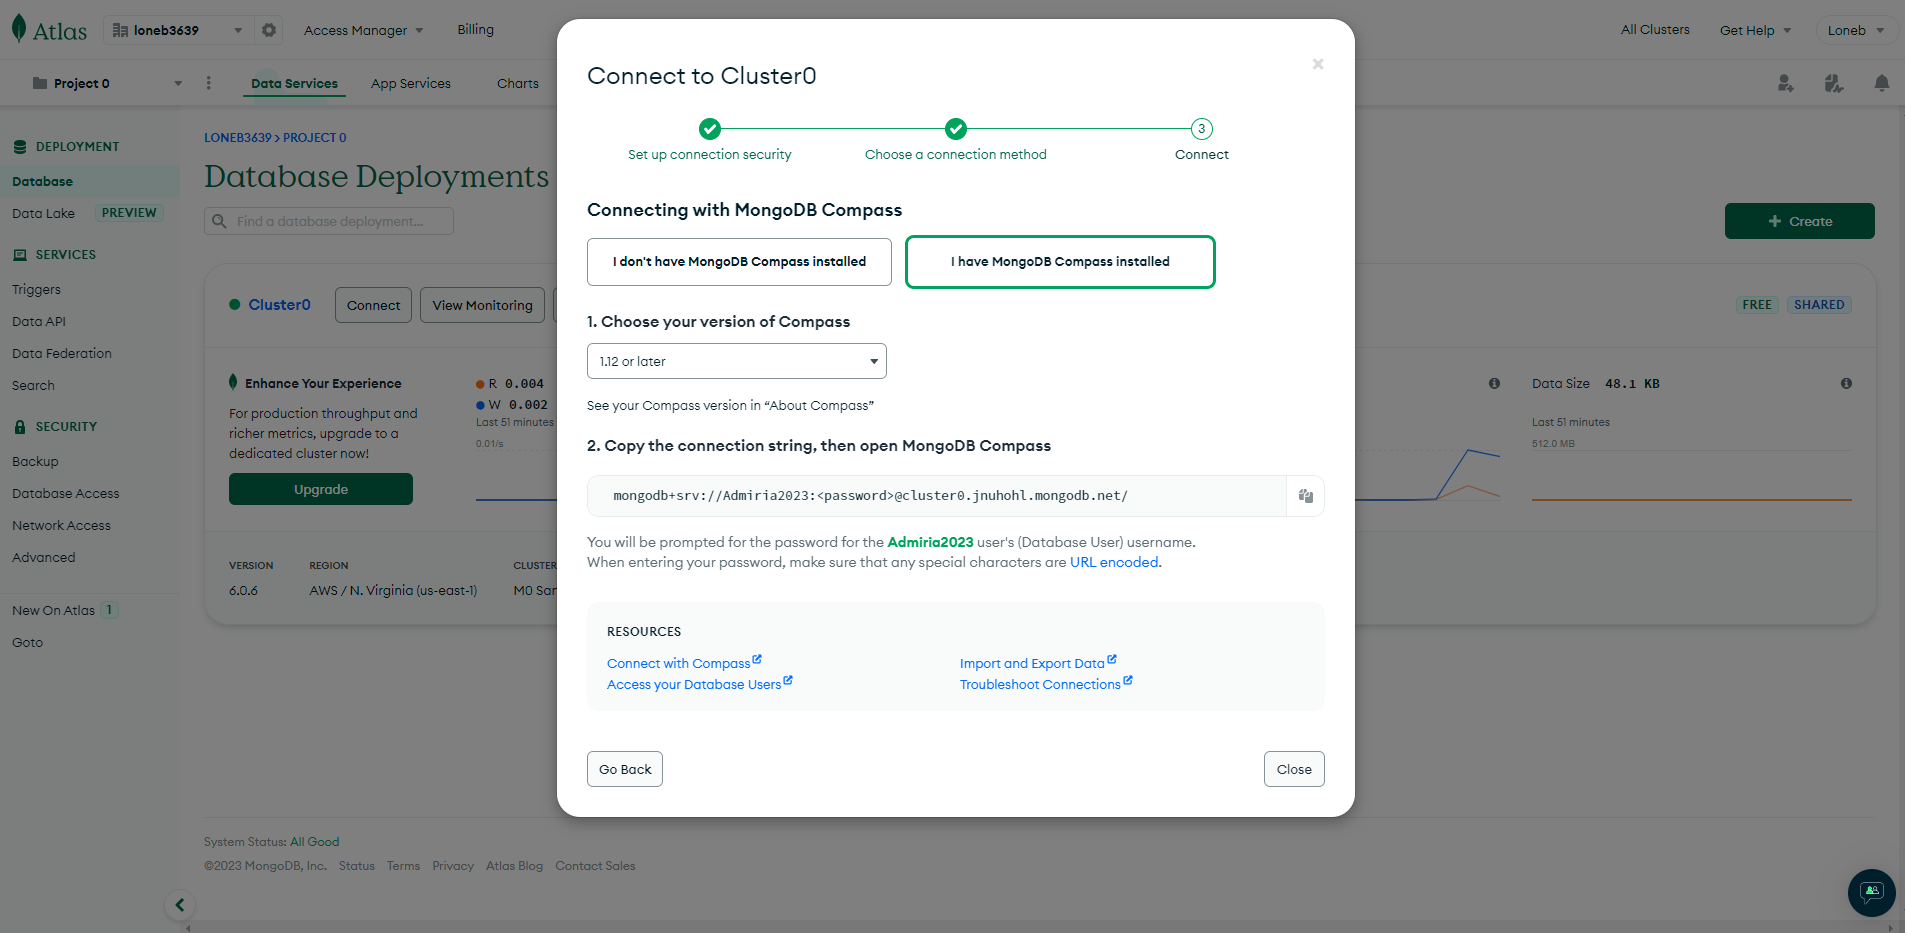
STEP-9: Now Open config.env and then paste the connection string in
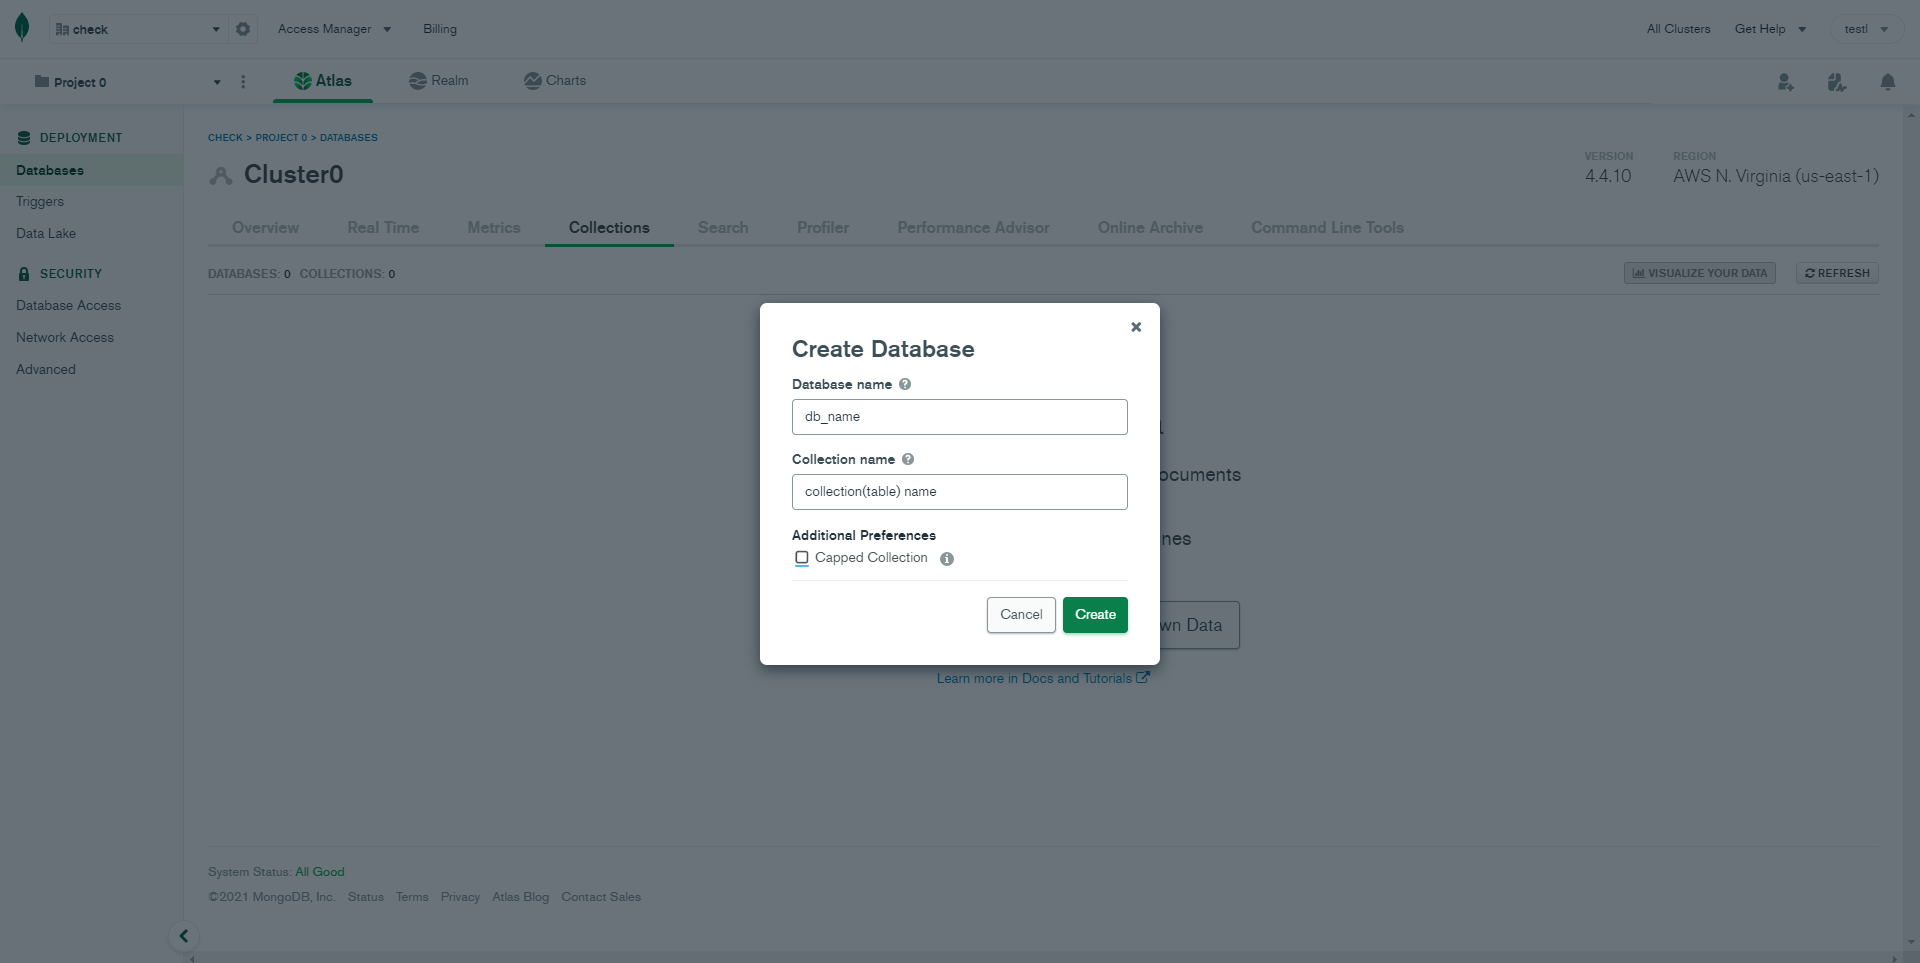
DATABASE_URL=.STEP-10: Now click on
Collectionsand then clickAdd My Own Data
STEP-11: Then Enter your database name and collection(table) name
Installation
To setup the Webadmin, follow below-mentioned steps:
-
Install Prerequisites
Make sure to have all above prerequisites installed & running on your computer.
-
Install Dependencies
Open your terminal at the root directory of the project, go to your folder and enter the command
npm install. This would install all the required dependencies in thenode_modulesfolder.
After you finished with the above steps, you can run the following commands into the terminal/command prompt from the root directory (Samply_Nodejs_v*/Admin/ ) of the project to run the project locally or build for production use:
| Command | Description |
|---|---|
npm install --silent
|
This would install all the required dependencies in the
node_modules folder.
|
gulp
|
Compile sass files and generate css files . |
npm start
|
Runs the project locally, starts the development server. The development server is accessible at http://localhost:8000. |
How to change width?
-
In order to change the width of left side navigation
bar,
open a file
src/assets/scss/_variables.scssand change the value of variable$sidebar-width. The default value is set to240px.
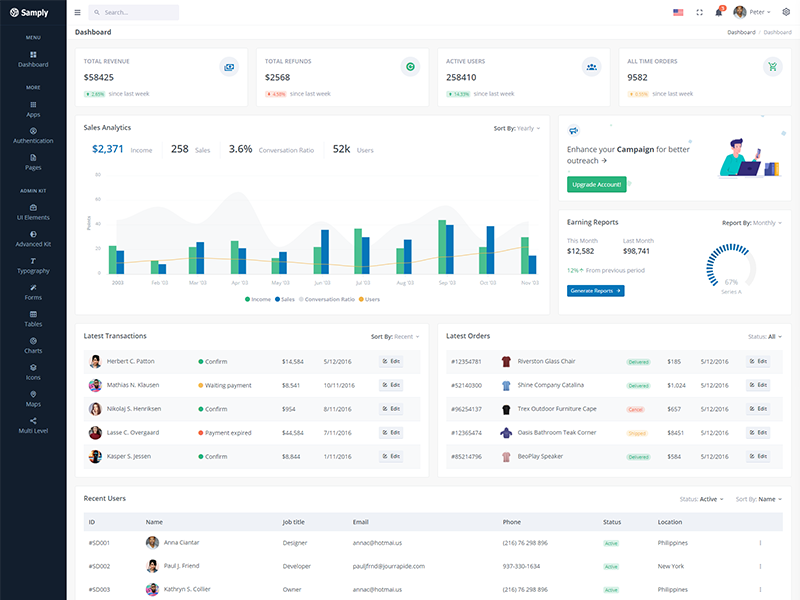
Light Version
Keep your body element with data attribute
data-bs-theme="light" E.g.
<body data-bs-theme="light"> to
have light layout.
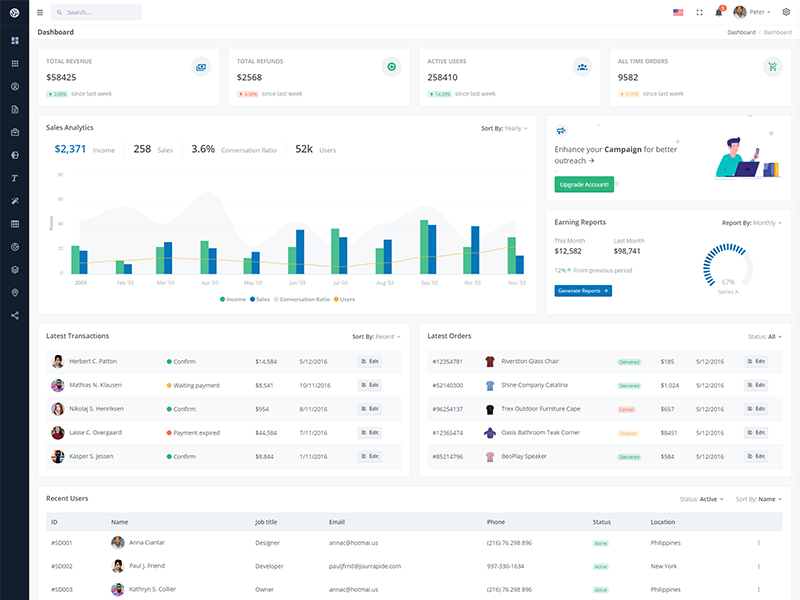
Dark Version
Keep your body element with data attribute
data-bs-theme="dark" E.g.
<body data-bs-theme="dark"> to
have dark layout.
RTL Version
To have rtl direction enabled, replace the reference of
app.min.css to
app-rtl.min.css and
bootstrap.min.css to
bootstrap-rtl.min.css and in the
src/partials/main.html file update the html tag
like <html lang="en" dir="rtl">.
in the src/partials/head-css.html and make
sure to
update the src/assets/js/app.js has initSettings()
function which you need to comment out. Because it will set to
default the light version.
Note: After above changes open terminal and Run command gulp
How to use pre-built layouts?
Each of the layout options is provided below with
steps you would need to perform in: Simply update in the views/partials/body.ejs file.
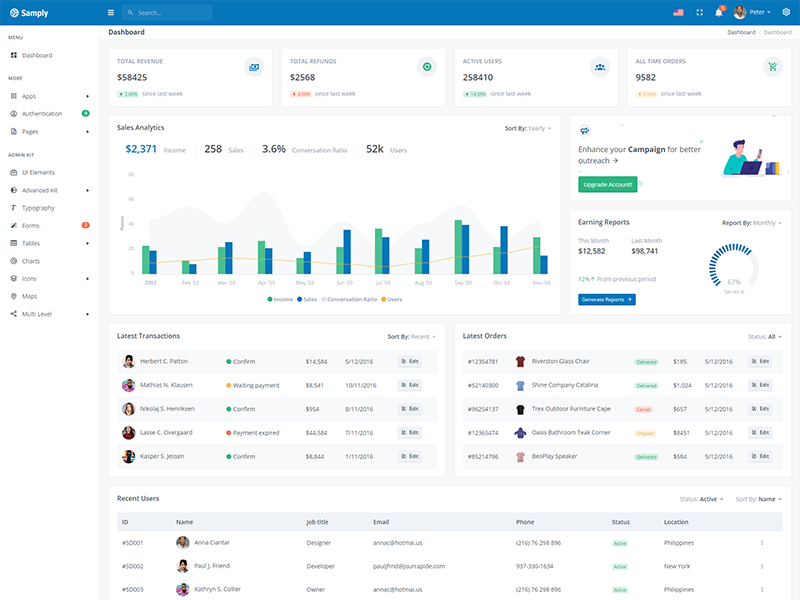
Light Sidebar
Remove data attributedata-sidebar="dark" body element to
have light sidebar.
Compact Sidebar
Keep your body element with data attributedata-sidebar-size="md" E.g.
<body data-sidebar-size="md">
to have compact sidebar.
Icon View Sidebar
Keep your body element with data attributedata-sidebar-size="sm" E.g.
<body data-sidebar-size="sm">
to have small sidebar.
Boxed Layout
Keep your body element with data attributedata-layout-size="boxed" E.g.
<body data-layout-size="boxed">
to have boxed layout.
Brand Sidebar
Keep your body element with data attributedata-sidebar="brand" E.g.
<body data-sidebar="brand"> to
have colored sidebar.
Scrollable Layout
Keep your body element with data attributedata-layout-scrollable="true" E.g.
<body data-layout-scrollable="true">
to
have scrollable layout.
Multi Language Settings
Lets add french language.
- Create new file fr.json in the fr folder in the
src/assets/langfolder and copy the en.json file code in this file. -
Now you need to add the language in the
src/assets/js/lang/jquery.multiLanguage.jsfile. In the function setLanguage add the "else if" condition as below and make sure to add french.jpg file.else if(lang=='fr') { document.getElementById("header-lang-img").src = "assets/images/flags/french.jpg"; } - You can simply use in the HTML file to convert the language text just add the attribute "key" to the parent div or any HTML tag. Example: <div key="t-title">This is title.</div>
Note: After above changes open terminal and Run command gulp
Tips
SCSS: We suggest you to do not change any scss files from the assets/scss/custom folders because to get new updates will might be break your SCSS changes if any you have made. We strongly suggest you to create new custom.scss file and use that instead of overwrite any theme's custom scss files.