Setup React
Introduction
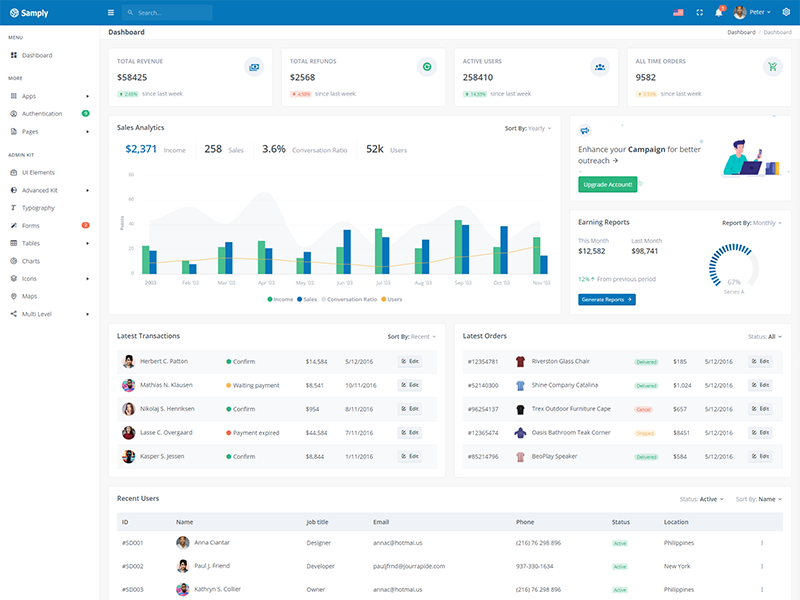
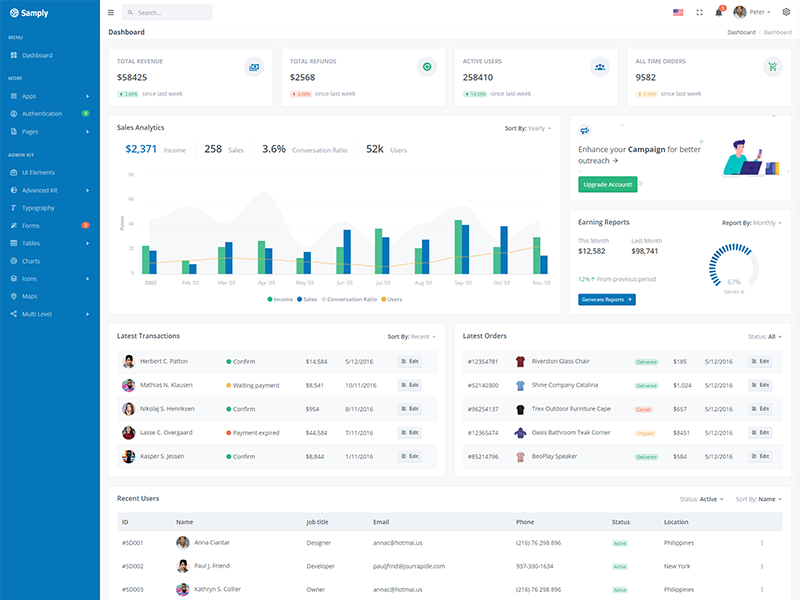
Samply is a fully featured premium admin dashboard template in React Js with developer-friendly codes.
📁 Folder & Files Structure
├── Admin
    ├── public
    ├── src
        ├── assets
            ├── fonts
            ├── images
            └── scss
        ├── common
            ├── data
            └── languages.js
        ├── components
            ├── Common
            ├── CommonForBoth
            ├── HorizontalLayout
            ├── VerticalLayout
            └── NonAuthLayout.js
        ├── helpers // for authentication firebase and jwt
        ├── locales // all json files of languages
        ├── pages
        ├── routes
        ├── store
        ├── App.css
        ├── App.js
        ├── App.test.js
        ├── config.js // for social creds
        ├── i18n.js
        ├── index.js
        ├── logo.svg
        ├── serviceWorker.js
        ├── setupTests.js
    ├── .env
    ├── .gitignore
    ├── package.json
    └── README.md
Firebase
Set REACT_APP_DEFAULTAUTH=firebase in the .env file.
Also fill all the firebase credentials in the .env file.
Remove the fake-backend setup code from the App.js
Now just uncomment the below firebase setup code in the App.js file.
// Import Firebase Configuration file
import { initFirebaseBackend } from "./helpers/firebase_helper";

const firebaseConfig = {
    apiKey: process.env.REACT_APP_APIKEY,
    authDomain: process.env.REACT_APP_AUTHDOMAIN,
    databaseURL: process.env.REACT_APP_DATABASEURL,
    projectId: process.env.REACT_APP_PROJECTID,
    storageBucket: process.env.REACT_APP_STORAGEBUCKET,
    messagingSenderId: process.env.REACT_APP_MESSAGINGSENDERID,
    appId: process.env.REACT_APP_APPID,
    measurementId: process.env.REACT_APP_MEASUREMENTID,
};

// init firebase backend
initFirebaseBackend(firebaseConfig);
Fake-Backend
Set REACT_APP_DEFAULTAUTH=fakebackend in the .env file.
Remove the firebase setup code from the App.js file.
Now just uncomment the below fake-backend setup code in the App.js file.
import fakeBackend from "./helpers/AuthType/fakeBackend"

    // Activating fake backend
    fakeBackend();
i18n Language translation settings
How to add new language? Let add French language in the existing language.
- Create a new file
src/locales/gr/translation.json - update the below code in the
src/i18n.jsfile
import translationGr from './locales/gr/translation.json'; const resources = { gr: { translation: translationGr } }; -
Now add the new option of French language in the topbar language dropdown menu
src/components/CommonForBoth/TopbarDropdown/LanguageDropdown.js -
You must have to write all text like
{this.props.t('Search_keyword')} to make it working with all languages. Also make sure to add new words in all other language filessrc/locales/{language}/translation.json. -
To change default language to german? update below code in the
src/i18n.jsfile
i18n
.use(detector)
.use(reactI18nextModule) // passes i18n down to react-i18next
.init({
    resources,
    lng: "gr",
    fallbackLng: "gr", // use en if detected lng is not available

    keySeparator: false, // we do not use keys in form messages.welcome

    interpolation: {
        escapeValue: false // react already safes from xss
    }
});
Prerequisites
Please follow below steps to install and setup all prerequisites:
-
Nodejs
Make sure to have the Node.js installed & running in your computer. If you already have installed Node on your computer, you can skip this step if your existing node version is greater than 20.
-
Git
Make sure to have the Git installed globally & running on your computer. If you already have installed git on your computer, you can skip this step.
Installation
To setup the admin theme, follow below-mentioned steps:
-
Install Prerequisites
Make sure to have all above prerequisites installed & running on your computer
After you finished with the above steps, you can run the following commands into the terminal / command prompt from the root directory of the project to run the project locally or build for production use:
| Command | Description |
|---|---|
npm install / yarn
|
This would install all the required dependencies in
the node_modules folder.
|
npm start / yarn start
|
Runs the project locally, starts the development server and watches for any changes in your code. The development server is accessible at http://localhost:3000. |
npm run build / yarn build
|
Generates a /dist directory with all the production files.
|
Light Version
src/store/layout/reducer.js update the INIT_STATE object parameter layoutMode: "light".
Dark Version
src/store/layout/reducer.js update the INIT_STATE object parameter layoutMode: "dark".
RTL Version
src/store/layout/reducer.js update the INIT_STATE object parameter layoutMode: "light".
// Comment the below light theme code
// Light Theme.
// @import "./bootstrap.scss";
// @import "./app.scss";

//uncomment the below code.
@import "./custom/rtl/bootstrap-rtl";
@import "./custom/rtl/components-rtl";
@import "./custom/rtl/float-rtl";
@import "./custom/rtl/general-rtl";
@import "./custom/rtl/pages-rtl";
@import "./custom/rtl/plugins-rtl";
@import "./custom/rtl/spacing-rtl";
@import "./custom/rtl/structure-rtl";
@import "./custom/rtl/text-rtl";
How to use pre-built layouts?
Each of the layout options is provided below with
steps you would need to perform in the src/store/layout/reducer.js:
Light Sidebar
leftSideBarTheme: "light"
Compact Sidebar
leftSideBarType: "compact"
Icon View Sidebar
leftSideBarType: "icon"
Boxed Layout
layoutWidth: "boxed"
Brand Sidebar
leftSideBarTheme: "brand"
Scrollable Layout
layoutWidth: "scrollable"
Tips
SCSS: We suggest you to do not change any scss files from the src/assets/scss/custom folders because to get new updates will might be break your SCSS changes if any you have made. We strongly suggest you to use custom.scss file and use that instead of overwrite any theme's custom scss files.